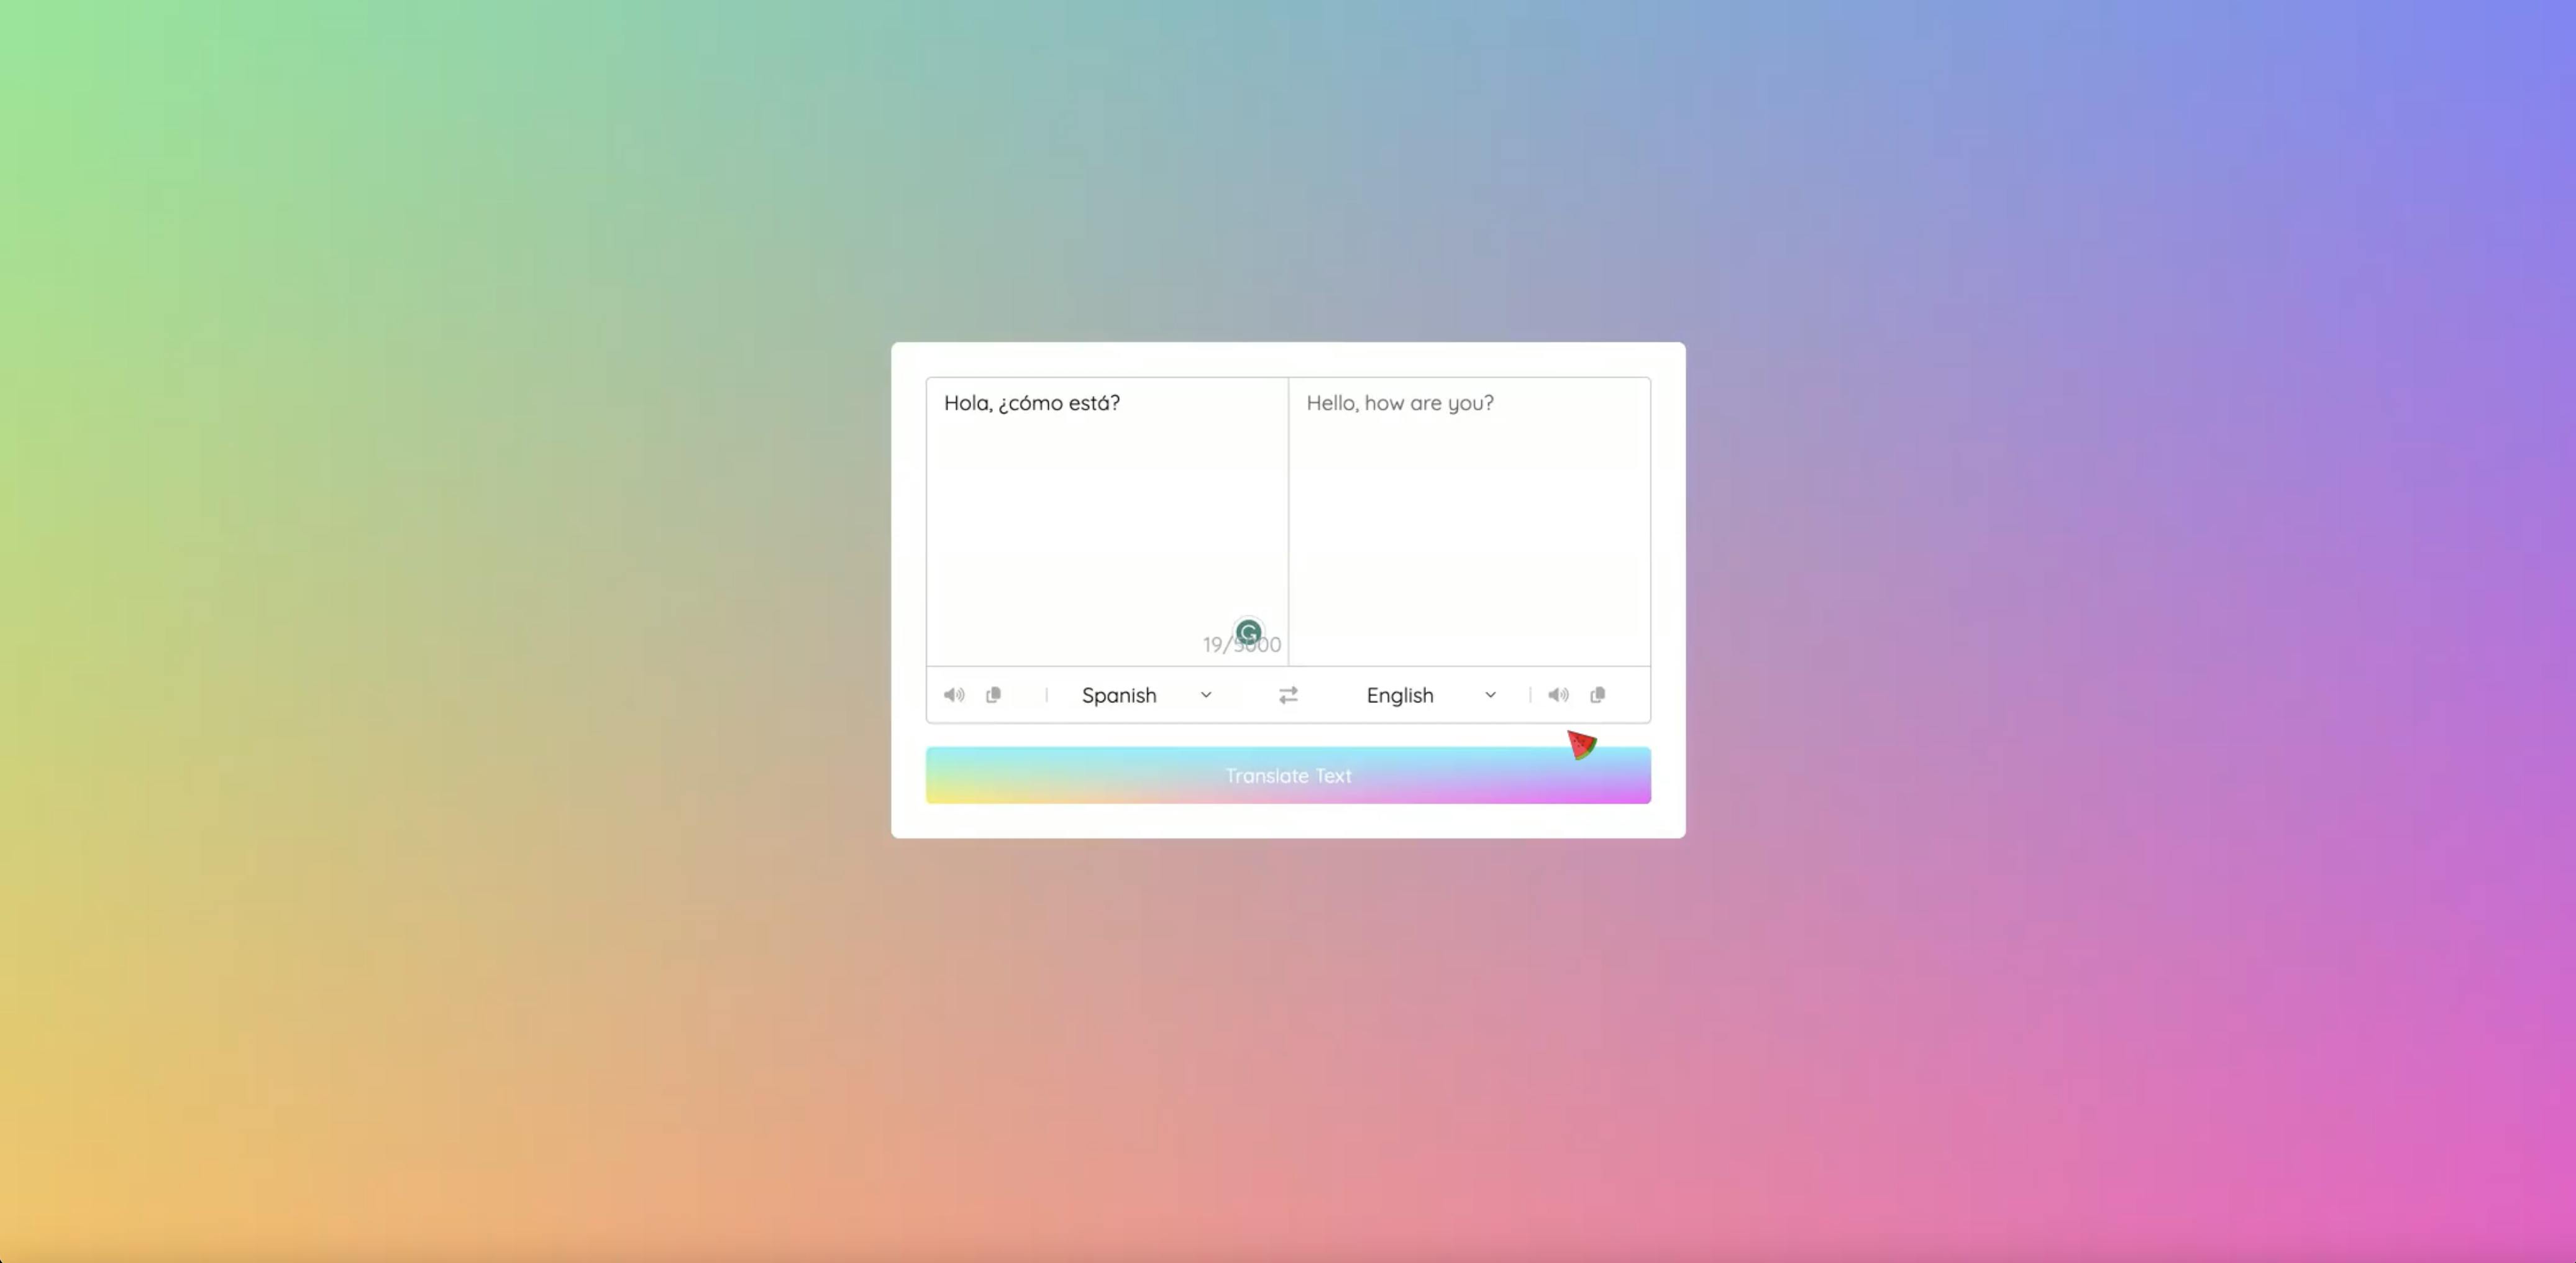
JavaScript in the Simple Language Translator
Since JavaScript can be the most difficult language to learn, I decided to share how I did the Javascript for my Simple Language Translator.

First, I target the select sections where a forEach array iteration is used to select a country from dropdown lists.
Create a second JS file to act as storage for my list of countries and language codes.
My array iteration to the countries and language codes I put placed in the other JS file.
I added both scripts to the bottom of my HTML page and verified it's existence through my console.
I, then, deleted my temporary language input selects and updated them with the countries of codes of my file using a template literal for string interpolation and adding the options tag inside the select tag array iteration.
I updated my array iteration with an if statement that states if the id=1 and country code is equal to English, then the selection should say the country that is selected, else if it should say Spanish. This allows me to select English as my "From" language by default and Spanish as my "to" language by default.
  selectTag.forEach((tag, id) => {
      for (const country_code in countries) {
      let selected;
      if (id == 0 && country_code == "en-US") {
          selected = "selected";
      } else if (id == 1 && country_code == "es-ES") {
          selected = "selected";
      }
      let option = `<option value="${country_code}" ${selected}>${countries[country_code]}</option>`;
      tag.insertAdjacentHTML("beforeend", option);
      }
  });
I created a variable for the translate button.
For the button variable, I created three event listeners: double-click, click, and keyUp. The first one was a double-click feature with a callback function that allows the entered text to be translated. To do this, a fromtext variable was created. I added the info from the select tags to translate from and to. I added an API URL from MyMemory. I edited the URL with template literals referring back to the translate "from" and "to" select tags. I typed "Hello World" to activate the URL and view the content. Afterward, I was able to fetch the URL response and return it with parsing into a JS object. I added a then method to receive that object. This then, allowed me to translate the entered text and switch the language options as well.
  translateBtn.addEventListener("click", () => {
      let text = fromText.value,
      translateFrom = selectTag[0].value,
      translateTo = selectTag[1].value;
      if (!text) return;
      toText.setAttribute("placeholder", "Translating...");
      let apiUrl = `https://api.mymemory.translated.net/get?q=${text}&langpair=${translateFrom}|${translateTo}`;
      fetch(apiUrl).then(res => res.json()).then(data => {
          toText.value = data.responseData.translatedText;
          toText.setAttribute("placeholder", "Translation");
      });
  });
Next, I began working on my exchange feature. For this feature, I added a click event listener with a callback function that allows me to alternate the side the chosen languages are on. I did this by exchanging text areas and select tag values.
  exchangeIcon.addEventListener("dblclick", () => {
      let tempText = fromText.value;
      tempLang = selectTag[0].value;
      fromText.value = toText.value;
      selectTag[0].value = selectTag[1].value;
      toText.value = tempText;
      selectTag[1].value = tempLang;
  });
Finally, began working on the copy-and-paste feature. For this feature, I created the icons variable and used another forEach array iteration to add the clipboard and audio function. This array takes on a callback function with an event listener that allows the user to copy text and near pronunciation. I targeted the volume class lists for both the audio and copying features and edited my HTML so that these features have to and from IDs. I updated my event listener with an if/else statement that allows these features to function when clicked. To do this for the copy feature, I made an if-else statement that stated if the clicked icon has a form ID, copy the same for the audio after adding an utterance variable and a speechSynthesis string. In the end, I called the speak utterance function to speak the utterance that is passed. I also used the select tags to set the utterance languages.
  icons.forEach(icon => {
      icon.addEventListener("click", ({target}) => {
          if(target.classList.contains("fa-copy")) {
              if(target.id == "from") {
                  navigator.clipboard.writeText(fromText.value);
              } else {
                  navigator.clipboard.writeText(toText.value);
              }
          } else {
              let utterance;
              if(target.id == "from") {
                  utterance = new SpeechSynthesisUtterance(fromText.value);
                  utterance.lang = selectTag[0].value;
              } else {
                  utterance = new SpeechSynthesisUtterance(toText.value);
                  utterance.lang = selectTag[1].value;
              }
              speechSynthesis.speak(utterance);
          }
      });
  })
The next step was to add a set attribute string to my translate button event listener. This acted as a placeholder for the entered text and wait time for translating.
Finally, I added an event listener for the count value. This function allows the number value to change as text is entered. In the fromtext box, show how many characters can be added until the text is "full".
  fromText.addEventListener('keyup', function() {
      countValue.innerHTML = `${fromText.value.length}/5000`;
  })